The 3 Stages to tie your Rope Halter
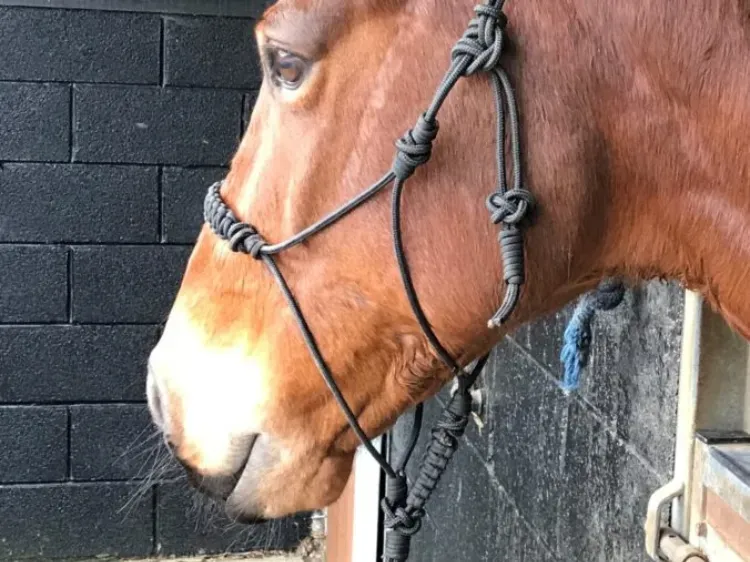
Your halter will tie on the left side of your horses head and in the same place as a headcollar is buckled. Instead of buckling up, there will be tying between a loop and two tying cords. Look at these 3 stages to the correct tying.
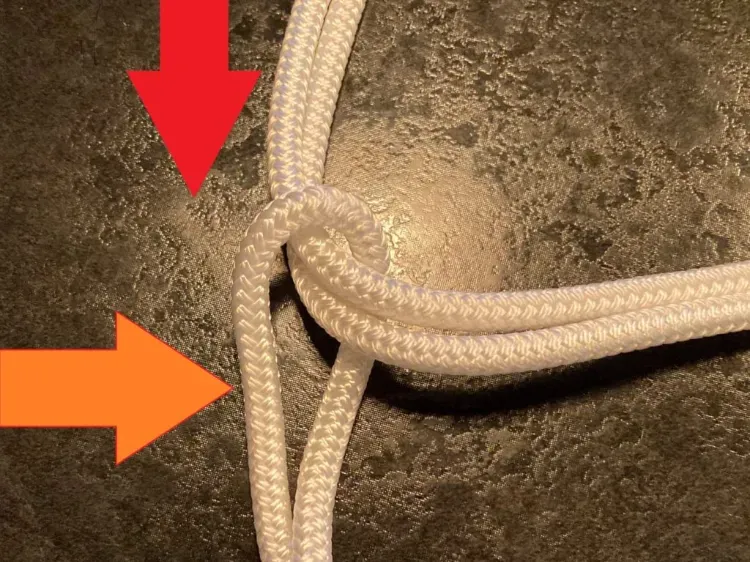
Stage 1
- The two tying cords (red) drop to the tying loop (orange).
- Put the tying cords up through the tying loop.
- Now pull these two cords to the right along the horses cheek.
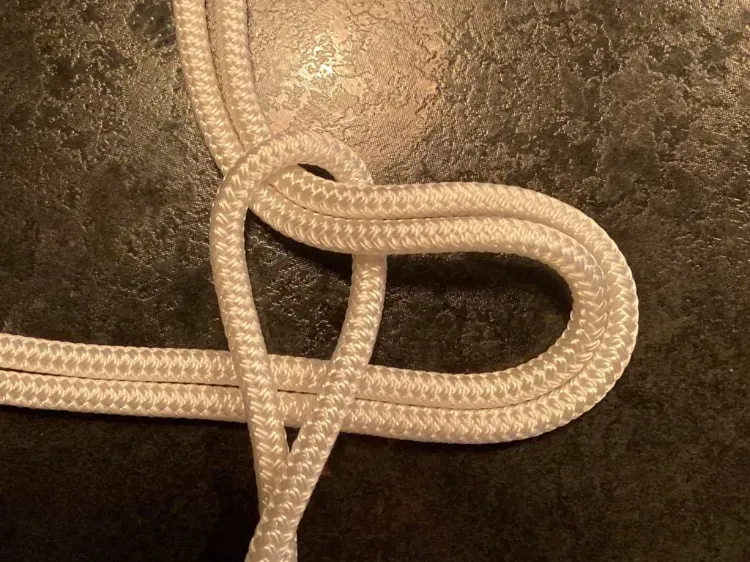
Stage 2
- Slide these two cords under the tying loop.
- Now pull to the left towards the horses nose.

Stage 3
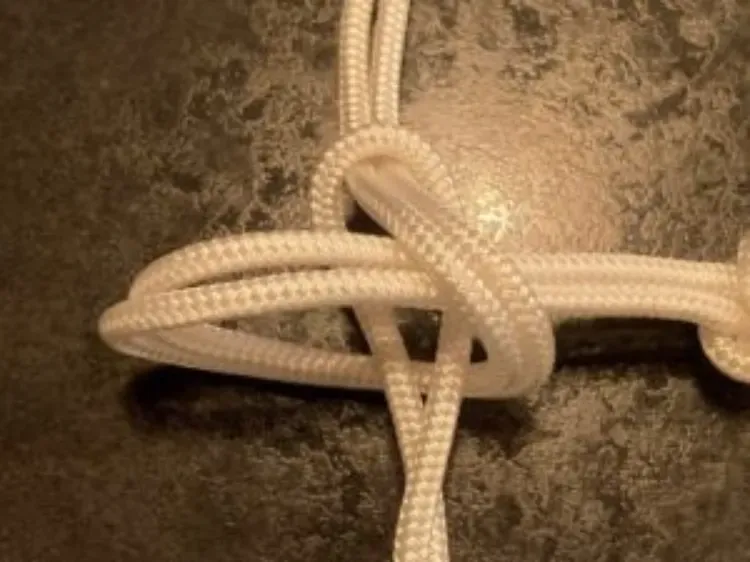
- Finally the two cords pass back over the tying loop and tuck back under themselves on the horses cheek.
- They are then tightened to finish the knot.
- When pressure is applied this knot binds, but remains easy to untie.
- If required this process can be repeated to create a double knot.
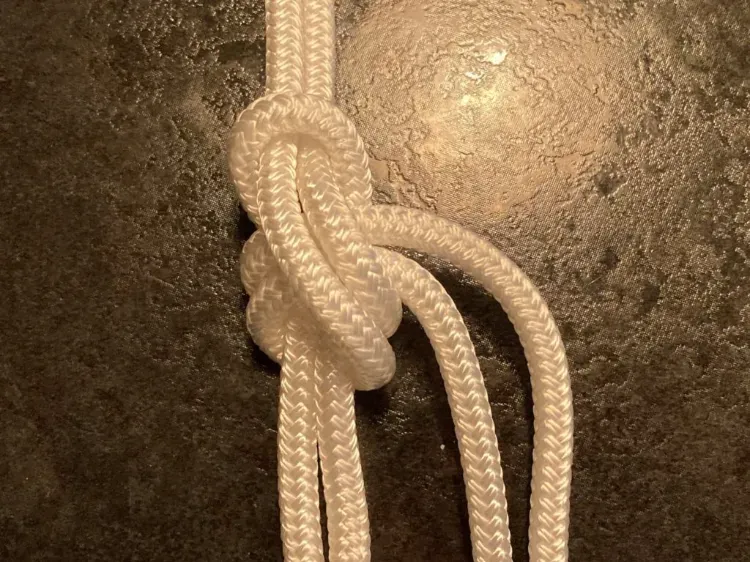
The finished knot
Practice tying this knot without your horse so that it becomes second nature and can be quickly applied when using your rope halter.
Safety Tips to watch out for
Make sure you tie the halter safely below the loop:

Do tie the Halter safely below the loop
Tie halters within the loop. This will pressure anchor the knot and make for safety.
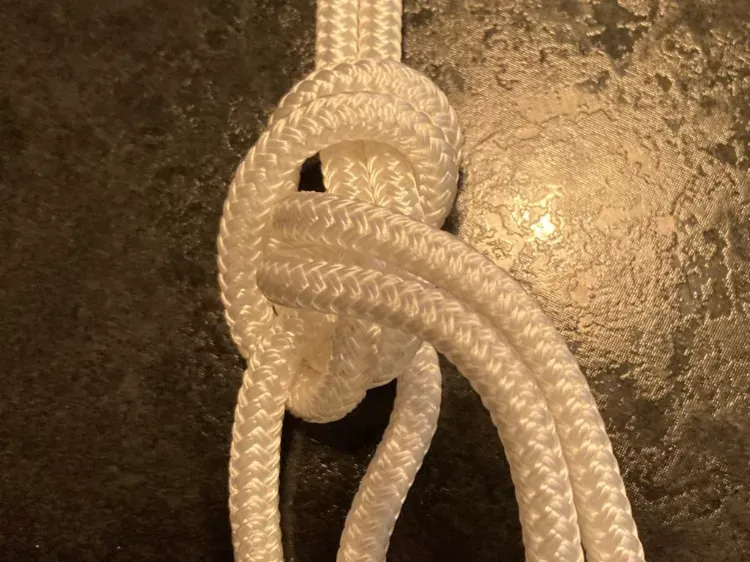
Don't tie the Halter dangerously above the loop
Tying halters so the knot is above the tying loop is not safe. This is incorrect and the halter will work loose, so the halter must be tied correctly.
